Getting Started
Copy Article URL
Use this guide to get Ovii ready for live hiring. It covers the essential setup path for recruiter and org admin users, from account access to your first published role.
Before you begin
Make sure you can sign in with a recruiter or org admin account and that your company is associated with the account. Most first-run actions in Ovii depend on a valid company context.
If you are evaluating plans or trial limits, review billing early so your team understands what usage is included before you start inviting candidates or running assessments.
Note
Initial setup is best completed by a recruiter or org admin who can access company configuration, team setup, and publishing workflows without permission gaps.
Set up your company profile
Company setup is the operational foundation for the rest of your hiring workflow. Until it is complete, Ovii keeps core actions such as job publishing behind a setup gate so your team does not launch roles with incomplete company information or weak candidate-facing branding.
Use the Company area to complete the three setup phases shown in your product flow: Basic Info, Social, and Branding. Treat this as one continuous onboarding sequence rather than three isolated forms.
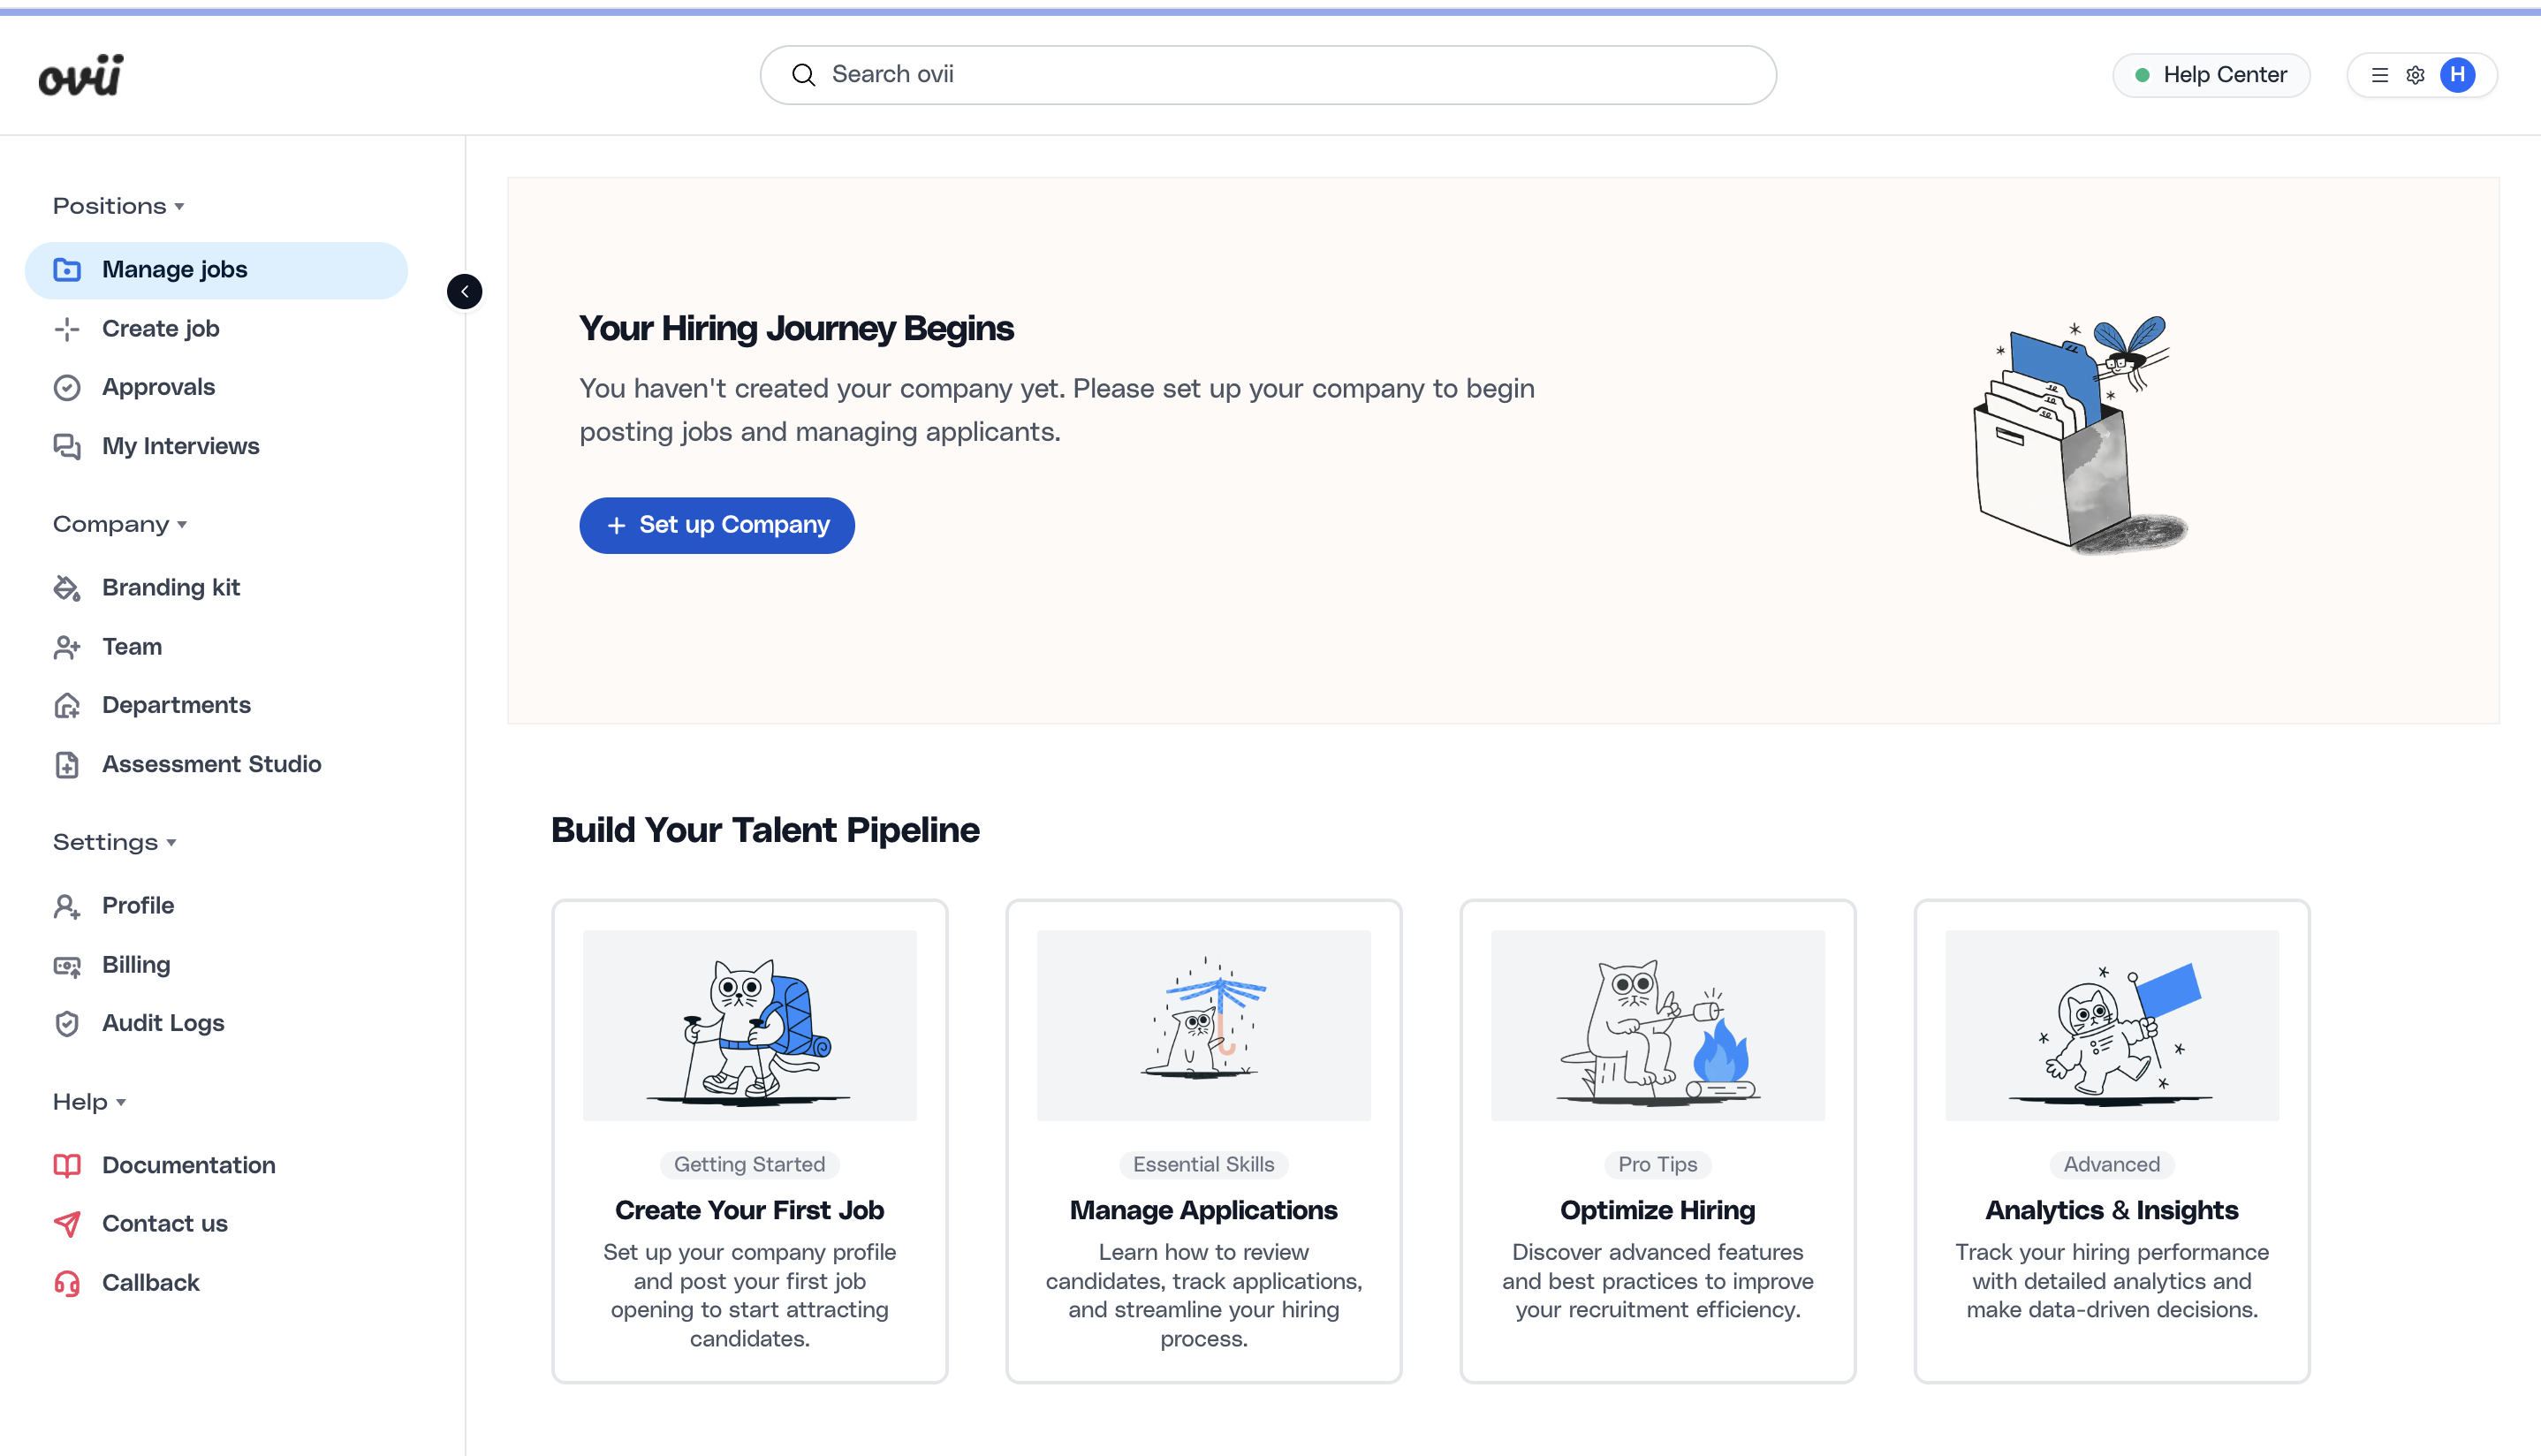
Start from the hiring workspace
When your organization has not been configured yet, the Manage jobs view presents a setup prompt that blocks publishing activity and directs the user to Set up Company. This is the correct starting point for first-time admins because it ensures company identity, team structure, and candidate-facing surfaces are configured before the first job goes live.
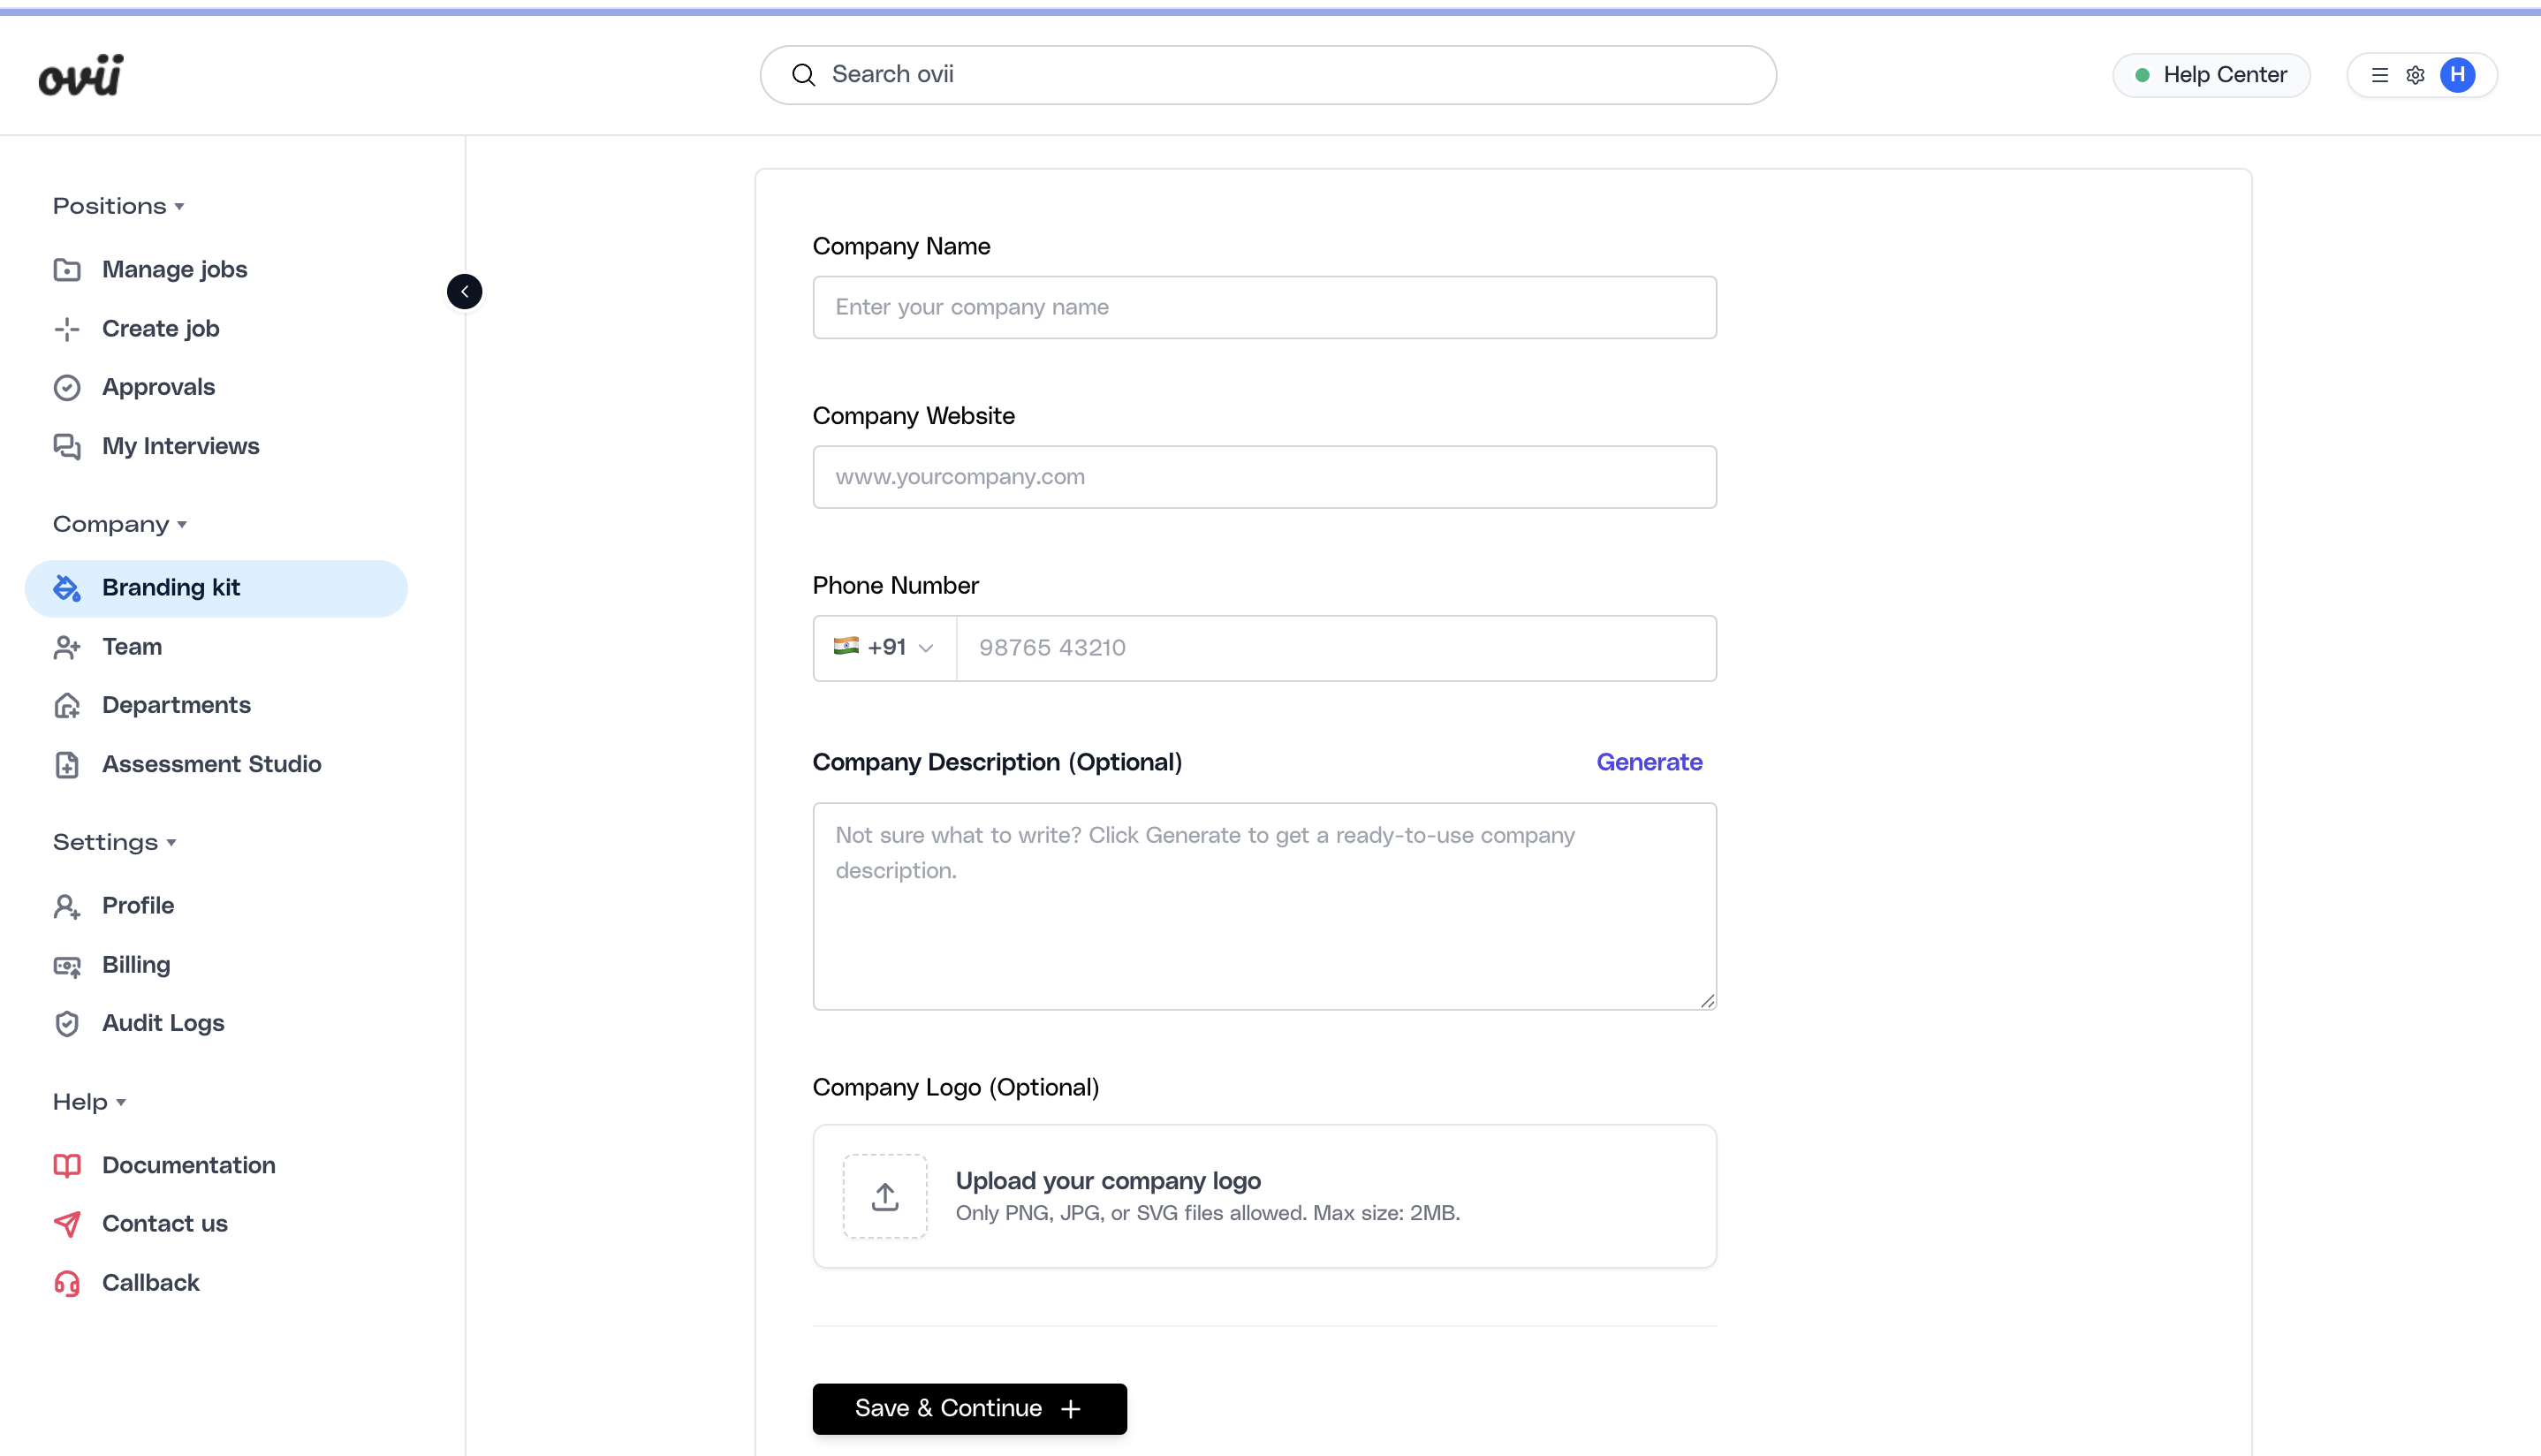
Complete Basic Info with production-ready details
In the Basic Info step, enter the company name, website, phone number, and company description. Add a concise description that explains what the company does and how candidates should understand the business. If your team needs help drafting copy, use the Generate action to create a clean starting point, then refine it so the language reflects your actual brand voice. Upload the company logo in a supported format so branded surfaces render consistently across job pages and hiring touchpoints.
Add social links to strengthen trust signals
The Social step connects your external company presence to the hiring experience. Add the LinkedIn company URL first, then include other channels such as X, YouTube, and Instagram if they are active and professionally maintained. These links are optional, but they are valuable when you want candidates to validate the brand, explore culture, and understand the organization beyond the job description.

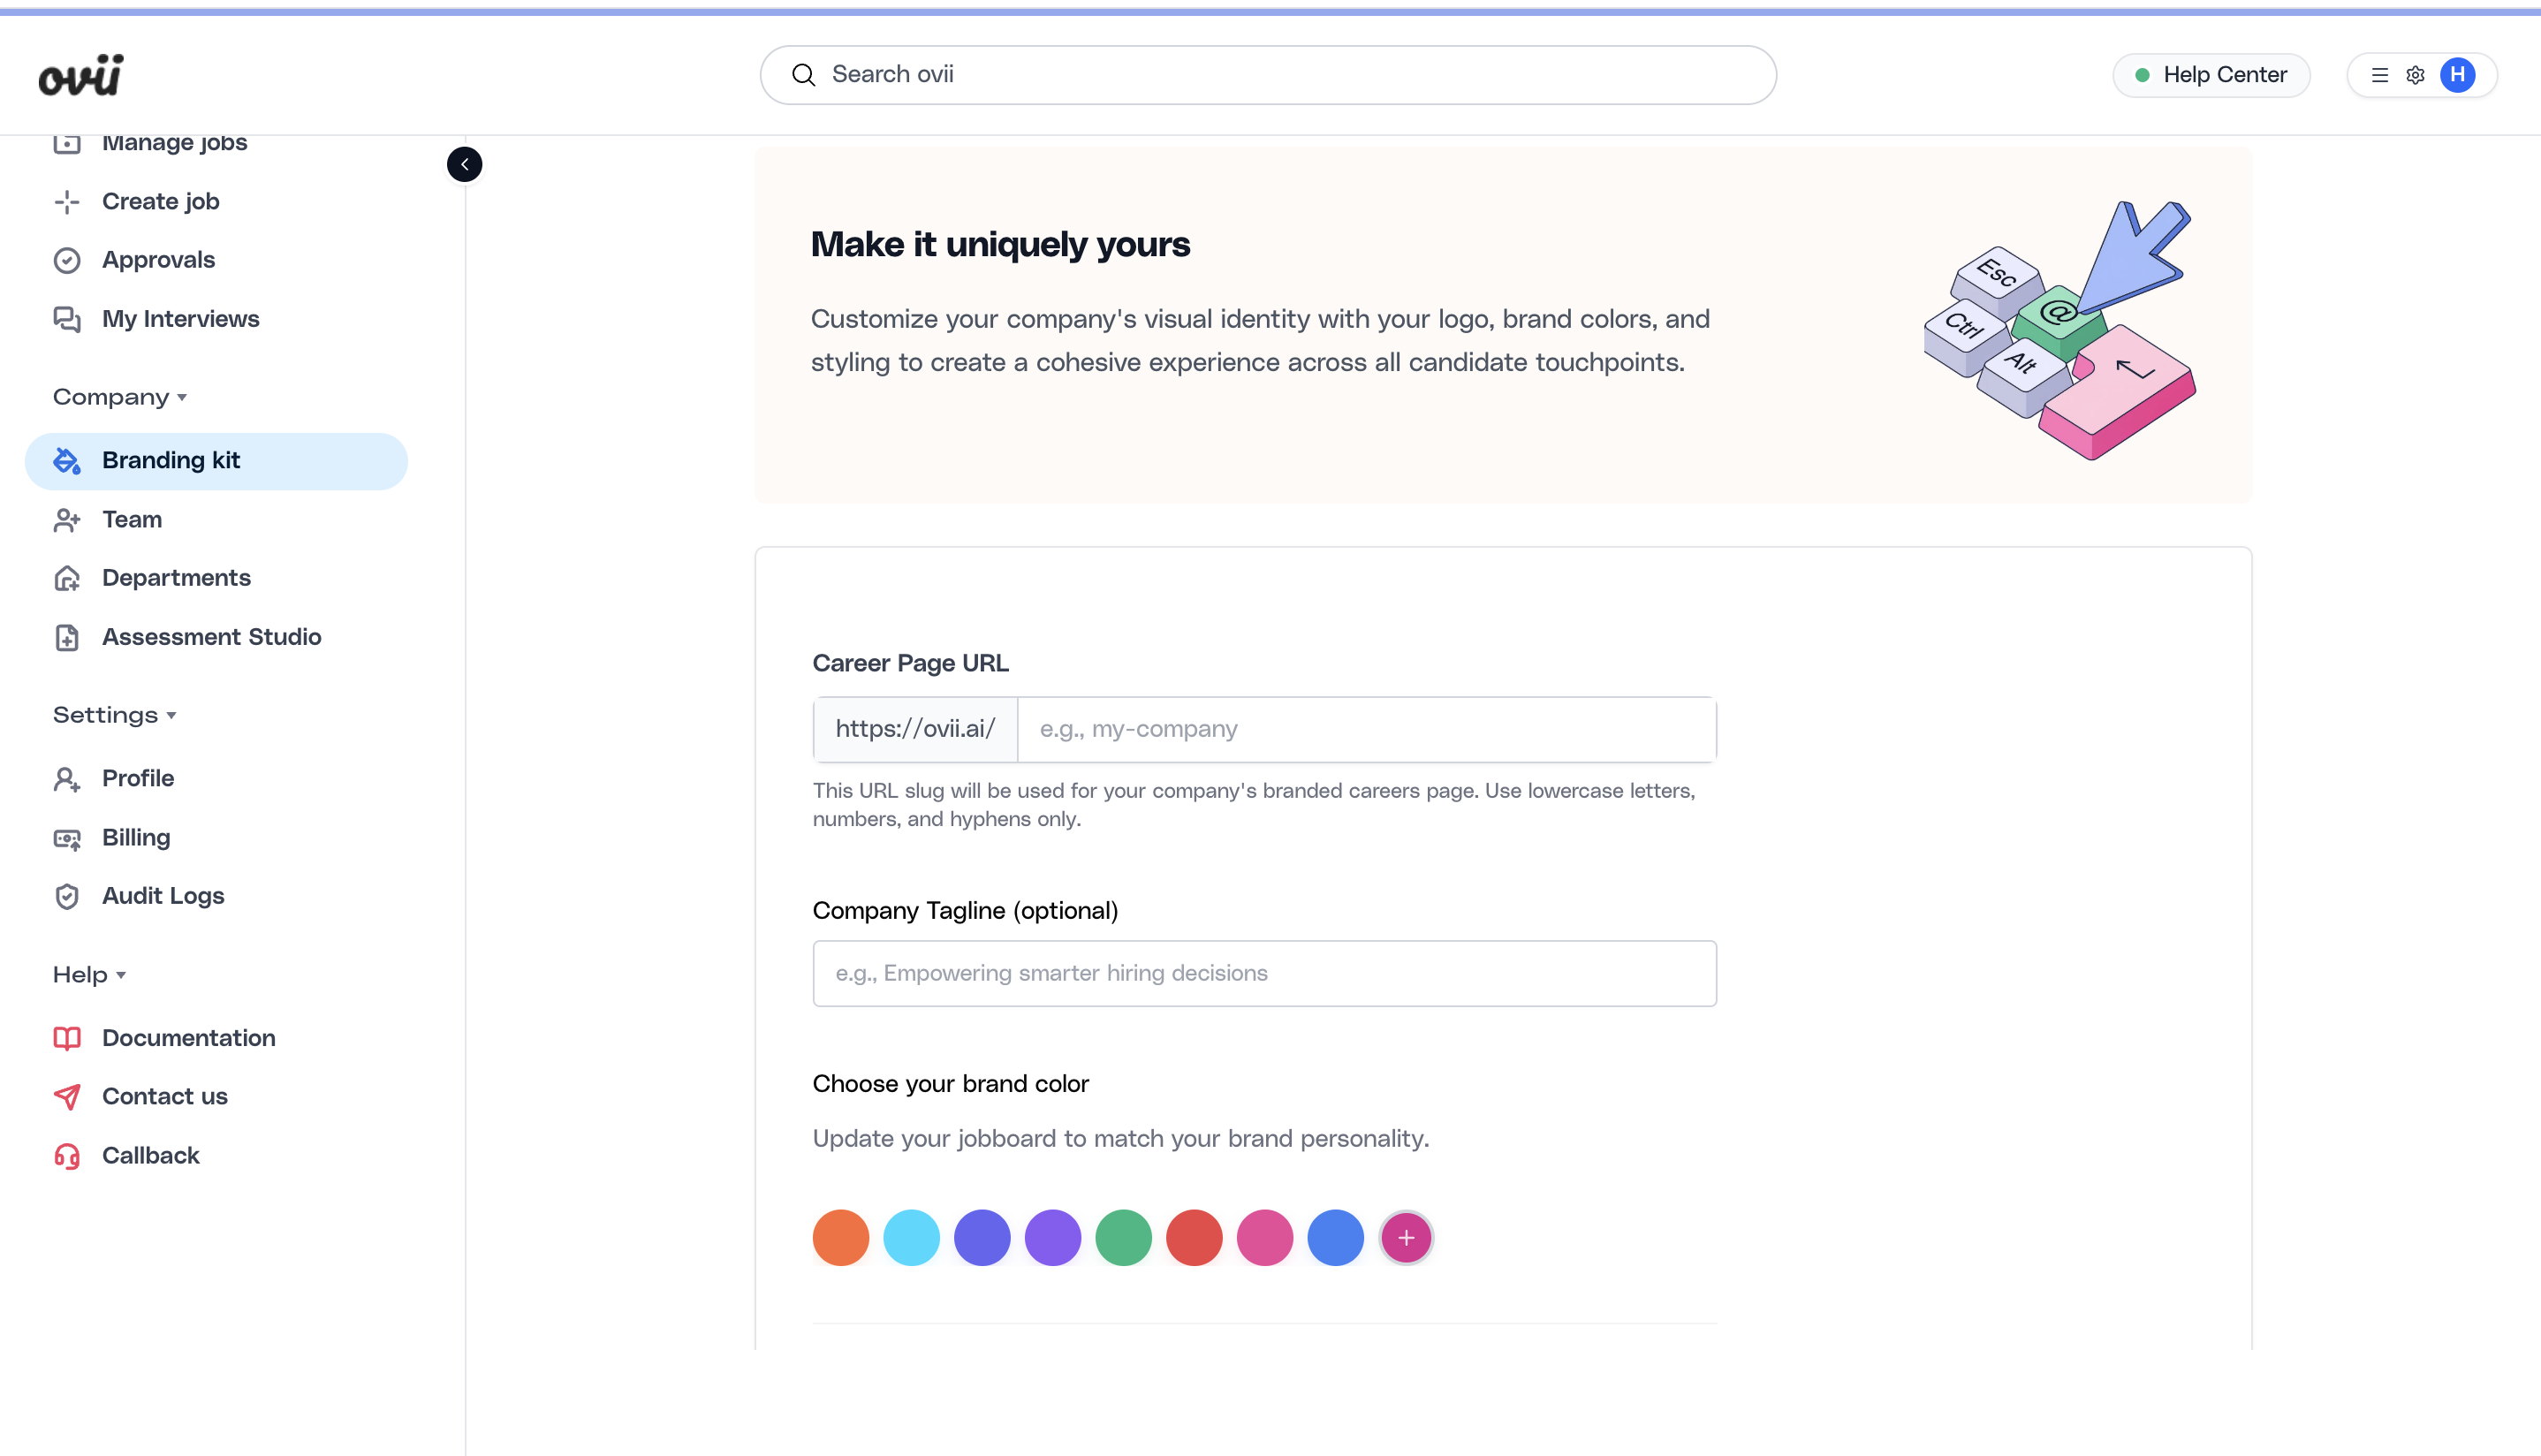
Configure branding for your careers experience
In the Branding step, define the branded career page URL slug, company tagline, and primary brand color. These choices shape how your company appears on its public careers presence and candidate-facing surfaces inside Ovii. Use a stable, readable slug and select a brand color that matches existing company identity guidelines so the hiring experience feels coherent from first click to final application.
Save each step and review the full candidate-facing setup
Move through the flow with Save & Continue so each section is stored cleanly. Before leaving setup, verify that the logo, company description, social links, career page URL, and brand color all work together as one unified employer brand. This review matters because your first published job will inherit these decisions immediately.
Note
The screenshot sequence shown here maps to the real first-run flow in Ovii: setup prompt from Manage jobs, Basic Info, Social, and Branding.
Note
Any company details you save here influence candidate-facing surfaces immediately, so review copy, links, logo, and brand color before your first live posting.
Next steps
After setup, continue with deeper help topics for job management, candidate management, assessments, interview workflows, automation, billing, and integrations.
A practical first milestone is simple: complete company setup, move into team access configuration, publish one job, and run one candidate flow end to end.
Read Next
Invite team and structure access
Open the dedicated guide for recruiter invites, access planning, bulk onboarding, vendor participation, and department ownership.